
Example
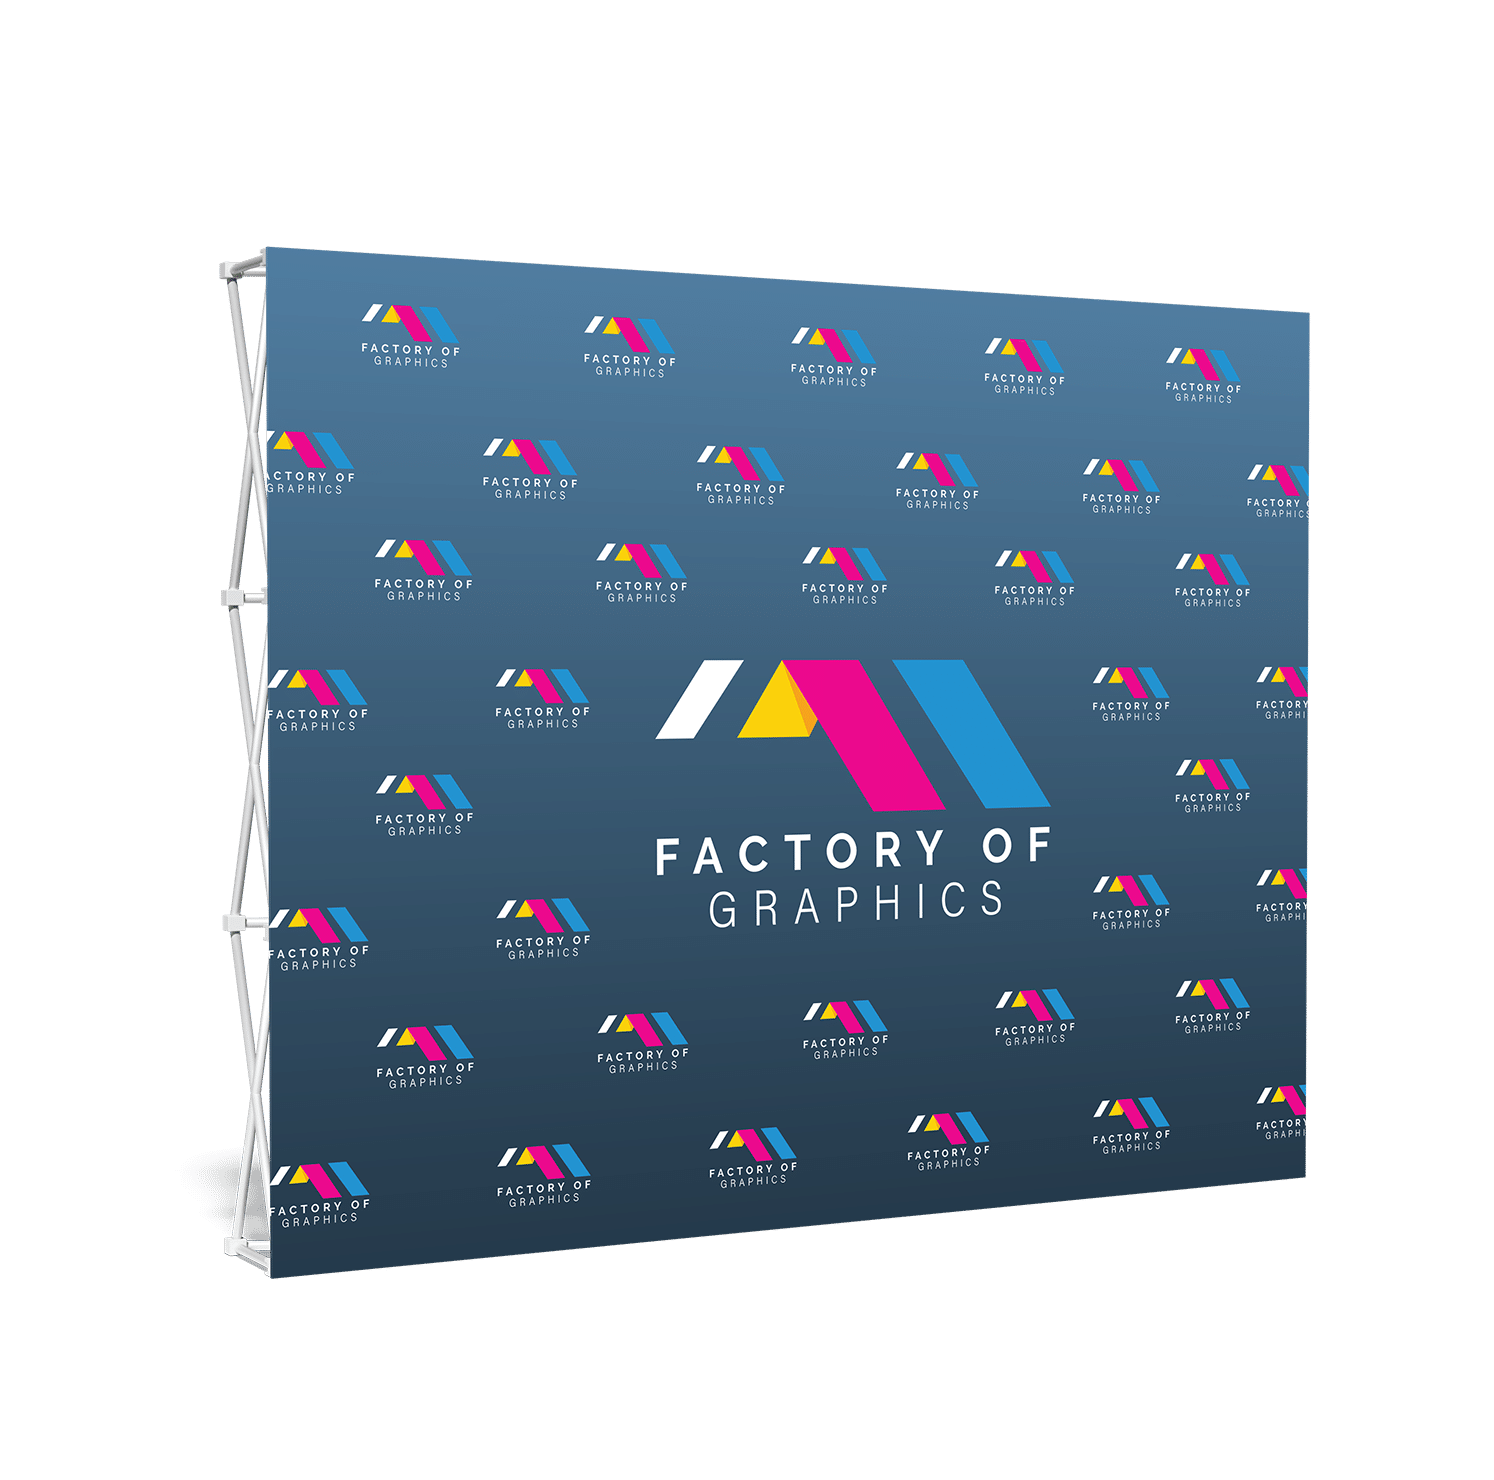
Focused inline presentation
An inline footprint can center a concise story, product interaction, and a clear conversation path when the backwall, counter, and aisle message work together.
Browse by footprint
Use your confirmed footprint to compare current exhibit configurations, then create a project brief that connects the visual system, attendee experience, graphics, schedule, and operations.
Choose the footprint with purpose
A 10 × 10, 20 × 20, or larger footprint does not dictate a single display solution. The booked size creates the field for a real planning conversation about visibility, product story, meetings, storage, graphics, and visitor movement.
Project blueprint
Bring the confirmed floor plan and program priorities to the selection conversation. The goal is not to force a generic package into a footprint; it is to understand the job the space must perform.
Start with the written footprint and any confirmed booth orientation, neighboring exposure, or exhibitor-service requirements.
Decide how attendees enter, move through, view products, meet with the team, and leave with a clear next step.
Identify whether the project needs product display, demonstrations, conversations, storage, hospitality, lead capture, or a mix of these functions.
Map the visual zones, brand hierarchy, media needs, floor or wall conditions, and artwork readiness before final production choices are made.
Live configuration paths
Each size opens the active catalog with its matching filter. Inventory, media, tags, and configuration details remain connected to the live catalog source; project pricing is confirmed by tailored quote.
Useful application examples
These are practical planning examples, not claims about a specific client or venue program. Final requirements are confirmed for the actual project.
Example
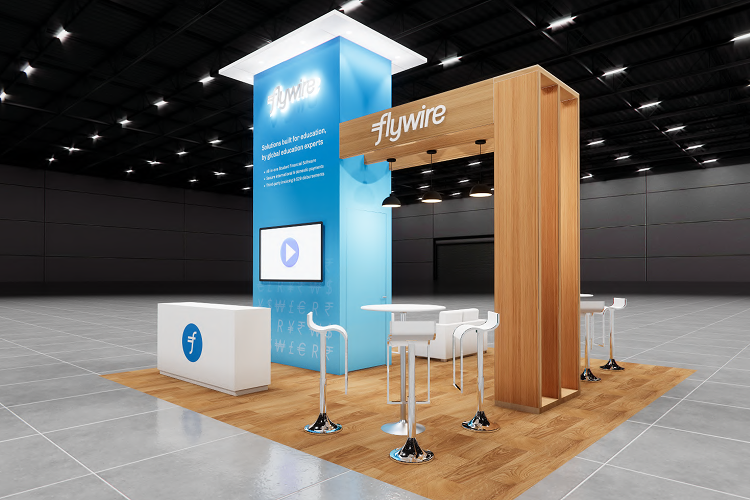
An inline footprint can center a concise story, product interaction, and a clear conversation path when the backwall, counter, and aisle message work together.
Example
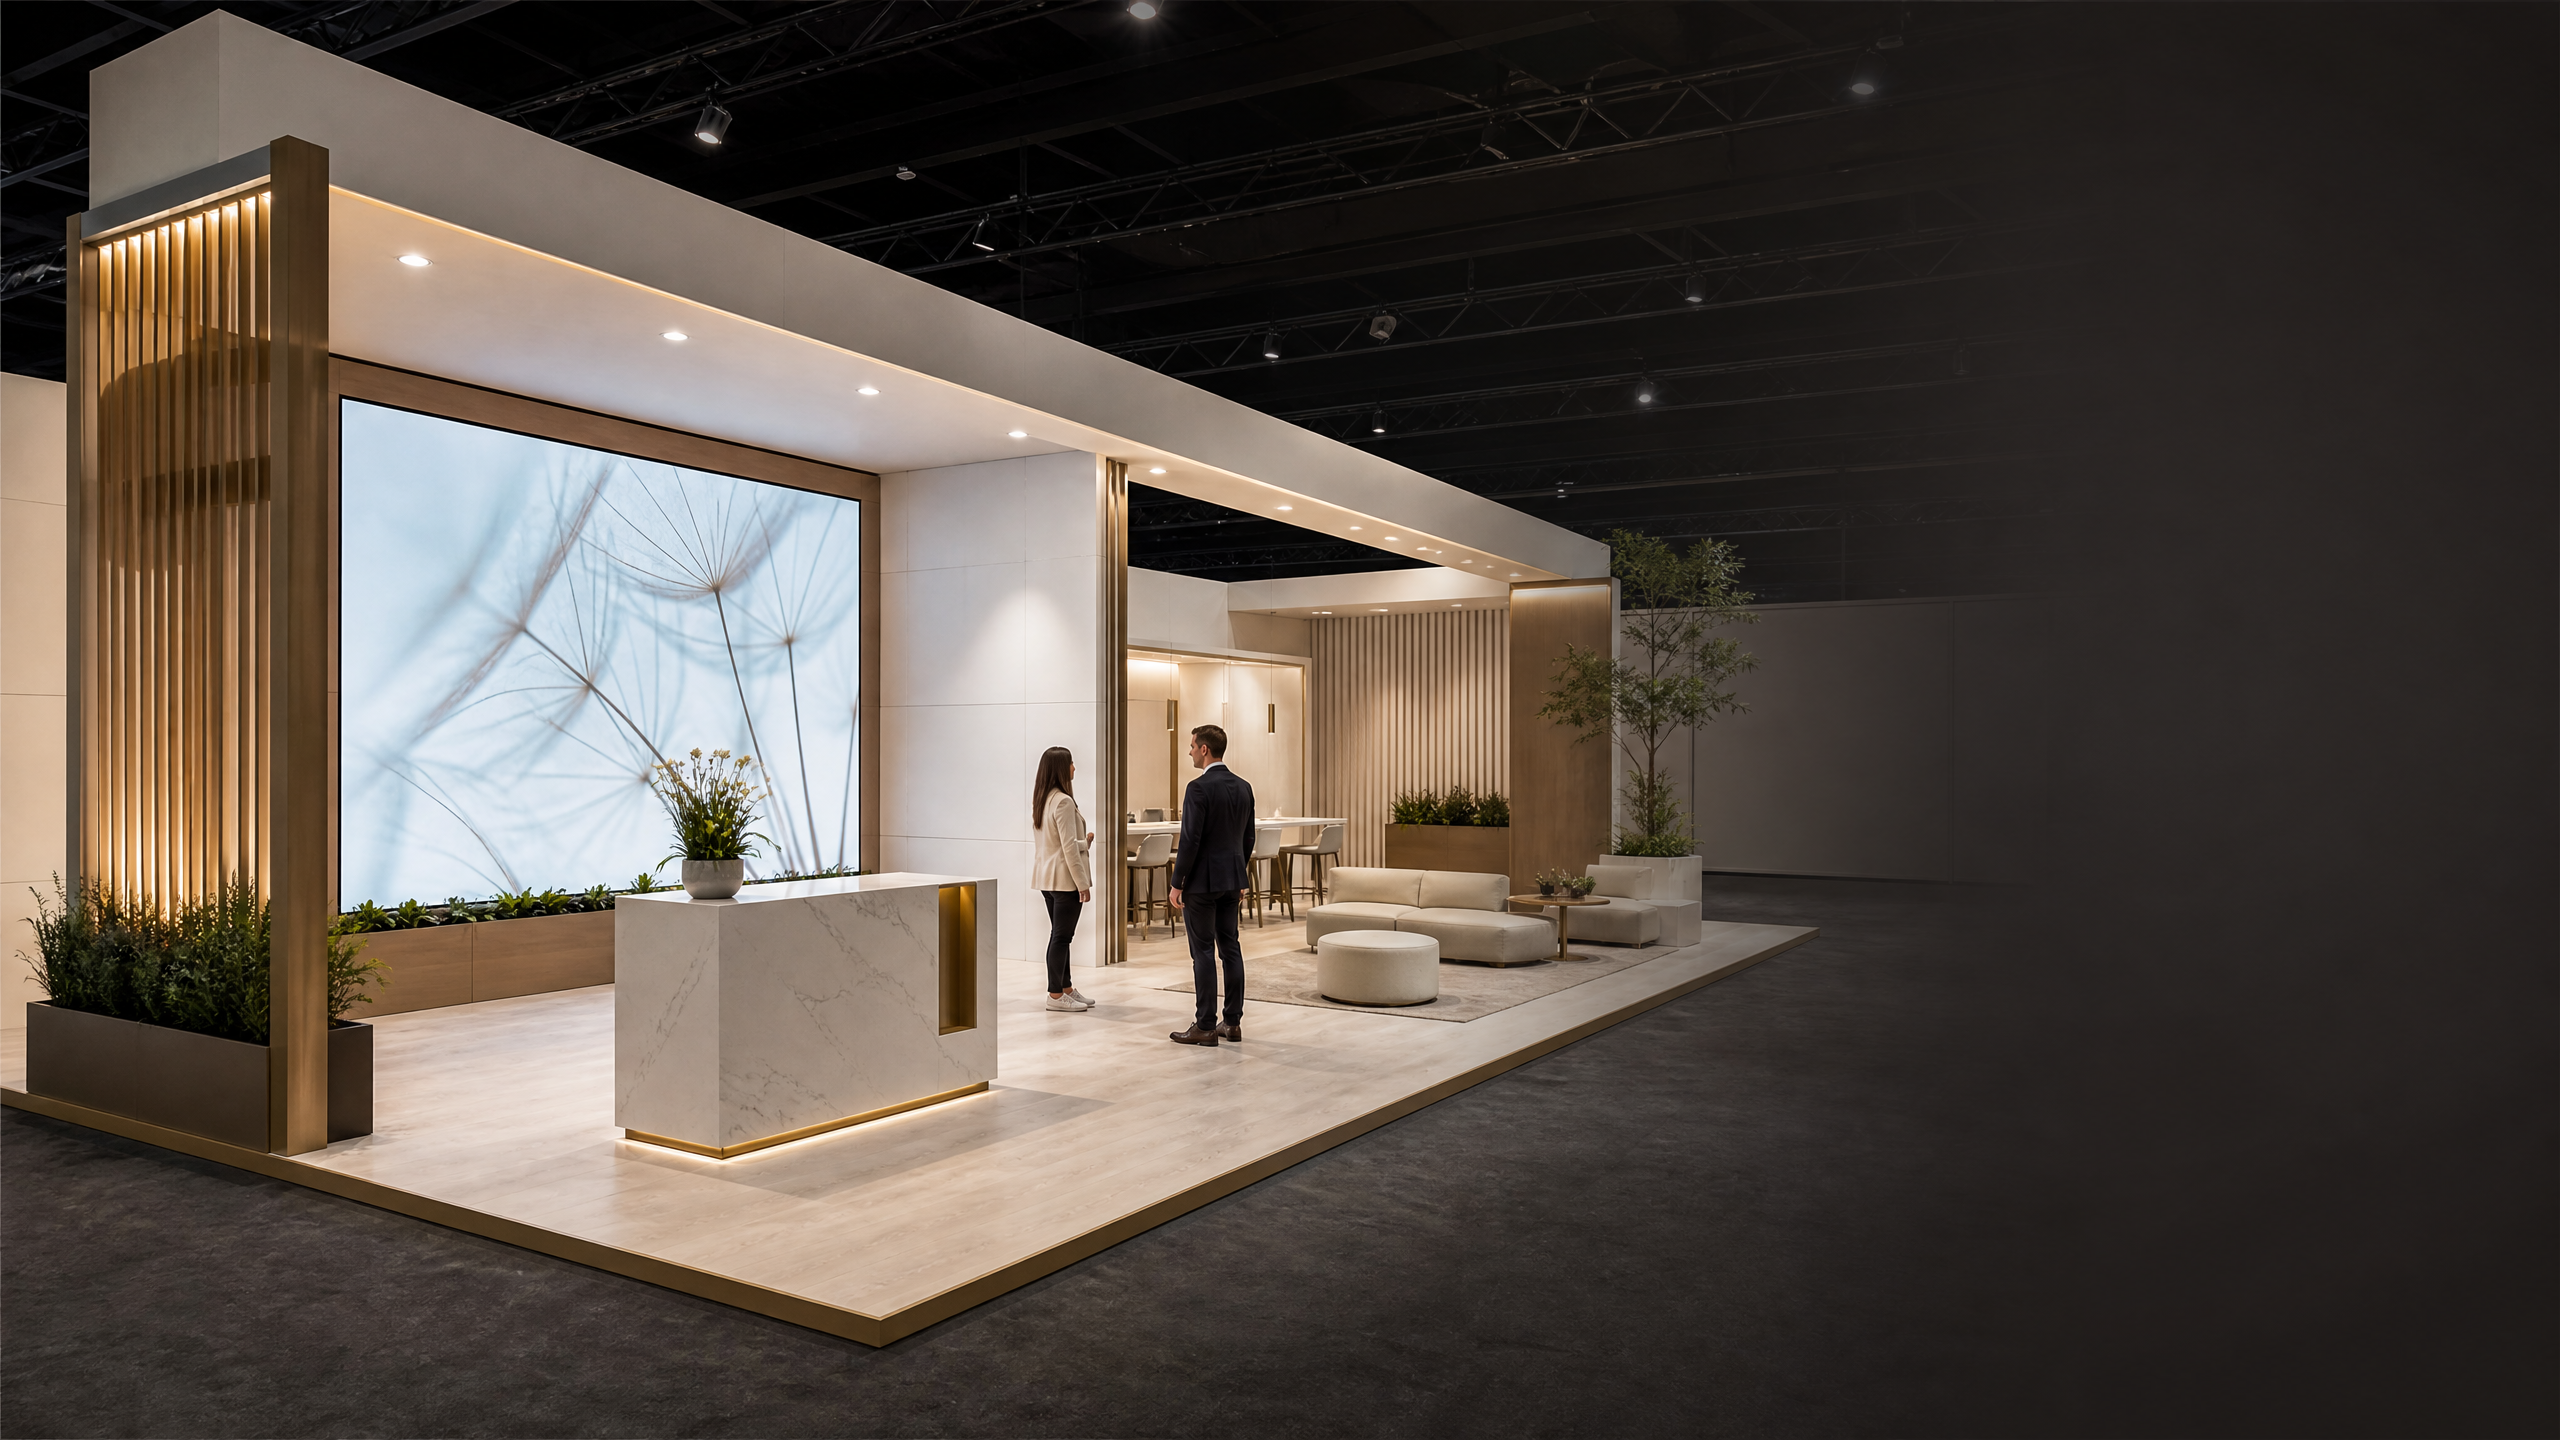
A larger island footprint can organize multiple arrival paths, branded zones, product presentation, and meeting areas when the overall plan is coordinated early.
Example
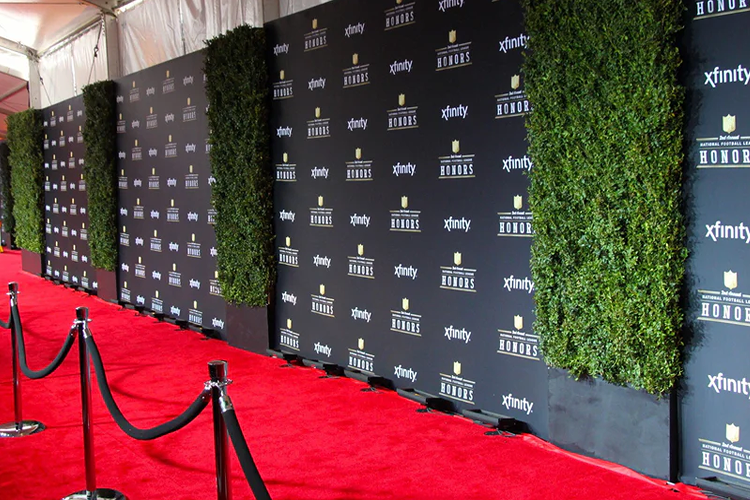
Fabric walls, printed panels, counters, floor graphics, and portable displays can reinforce the same visual hierarchy once the layout is confirmed.
The design-to-install path
Every project is scoped around its real materials, artwork, environment, timing, and delivery or installation context. Nothing here substitutes for the project-specific approval process.
Share the booth footprint, audience, desired action, timing, location, and any existing brand files. The goal is to make the next production decision clear before artwork moves forward.
OutputUsable project brief
We review the supplied dimensions, artwork status, installation surface or exhibit frame, and any venue or handling requirements that affect the output.
OutputVerified inputs and open questions
The project brief aligns the visual zones, finished size, material, finishing details, proof needs, packing, and delivery or installation path before production begins.
OutputConfirmed production blueprint
After the scope is confirmed, production and logistics are coordinated around the actual approved artwork, deadline, delivery address, and project requirements.
OutputCoordinated production handoff
From approved brief to coordinated handoff
The written project brief keeps confirmed dimensions, approved files, finishing details, timing, packing, delivery, and any installation coordination attached to the same decision path.
Frequently asked questions
Every project still needs a confirmed scope, but these questions can help your team arrive with the useful details.
A floor plan or confirmed dimensions, event or installation date, location, artwork status, intended audience, and desired outcome create the strongest starting brief.
Yes. An early planning conversation can identify the information still needed and organize the graphic, exhibit, print, delivery, and installation questions around the actual project.
No. Final venue, organizer, contractor, rigging, installation, delivery, and service requirements are confirmed for the specific project. The page content is practical planning guidance, not an affiliation claim.
Start with the real project details
Open the matching live catalog, identify the functional needs of the space, and send the booth, graphics, timing, and delivery or installation details for a project-specific conversation.