
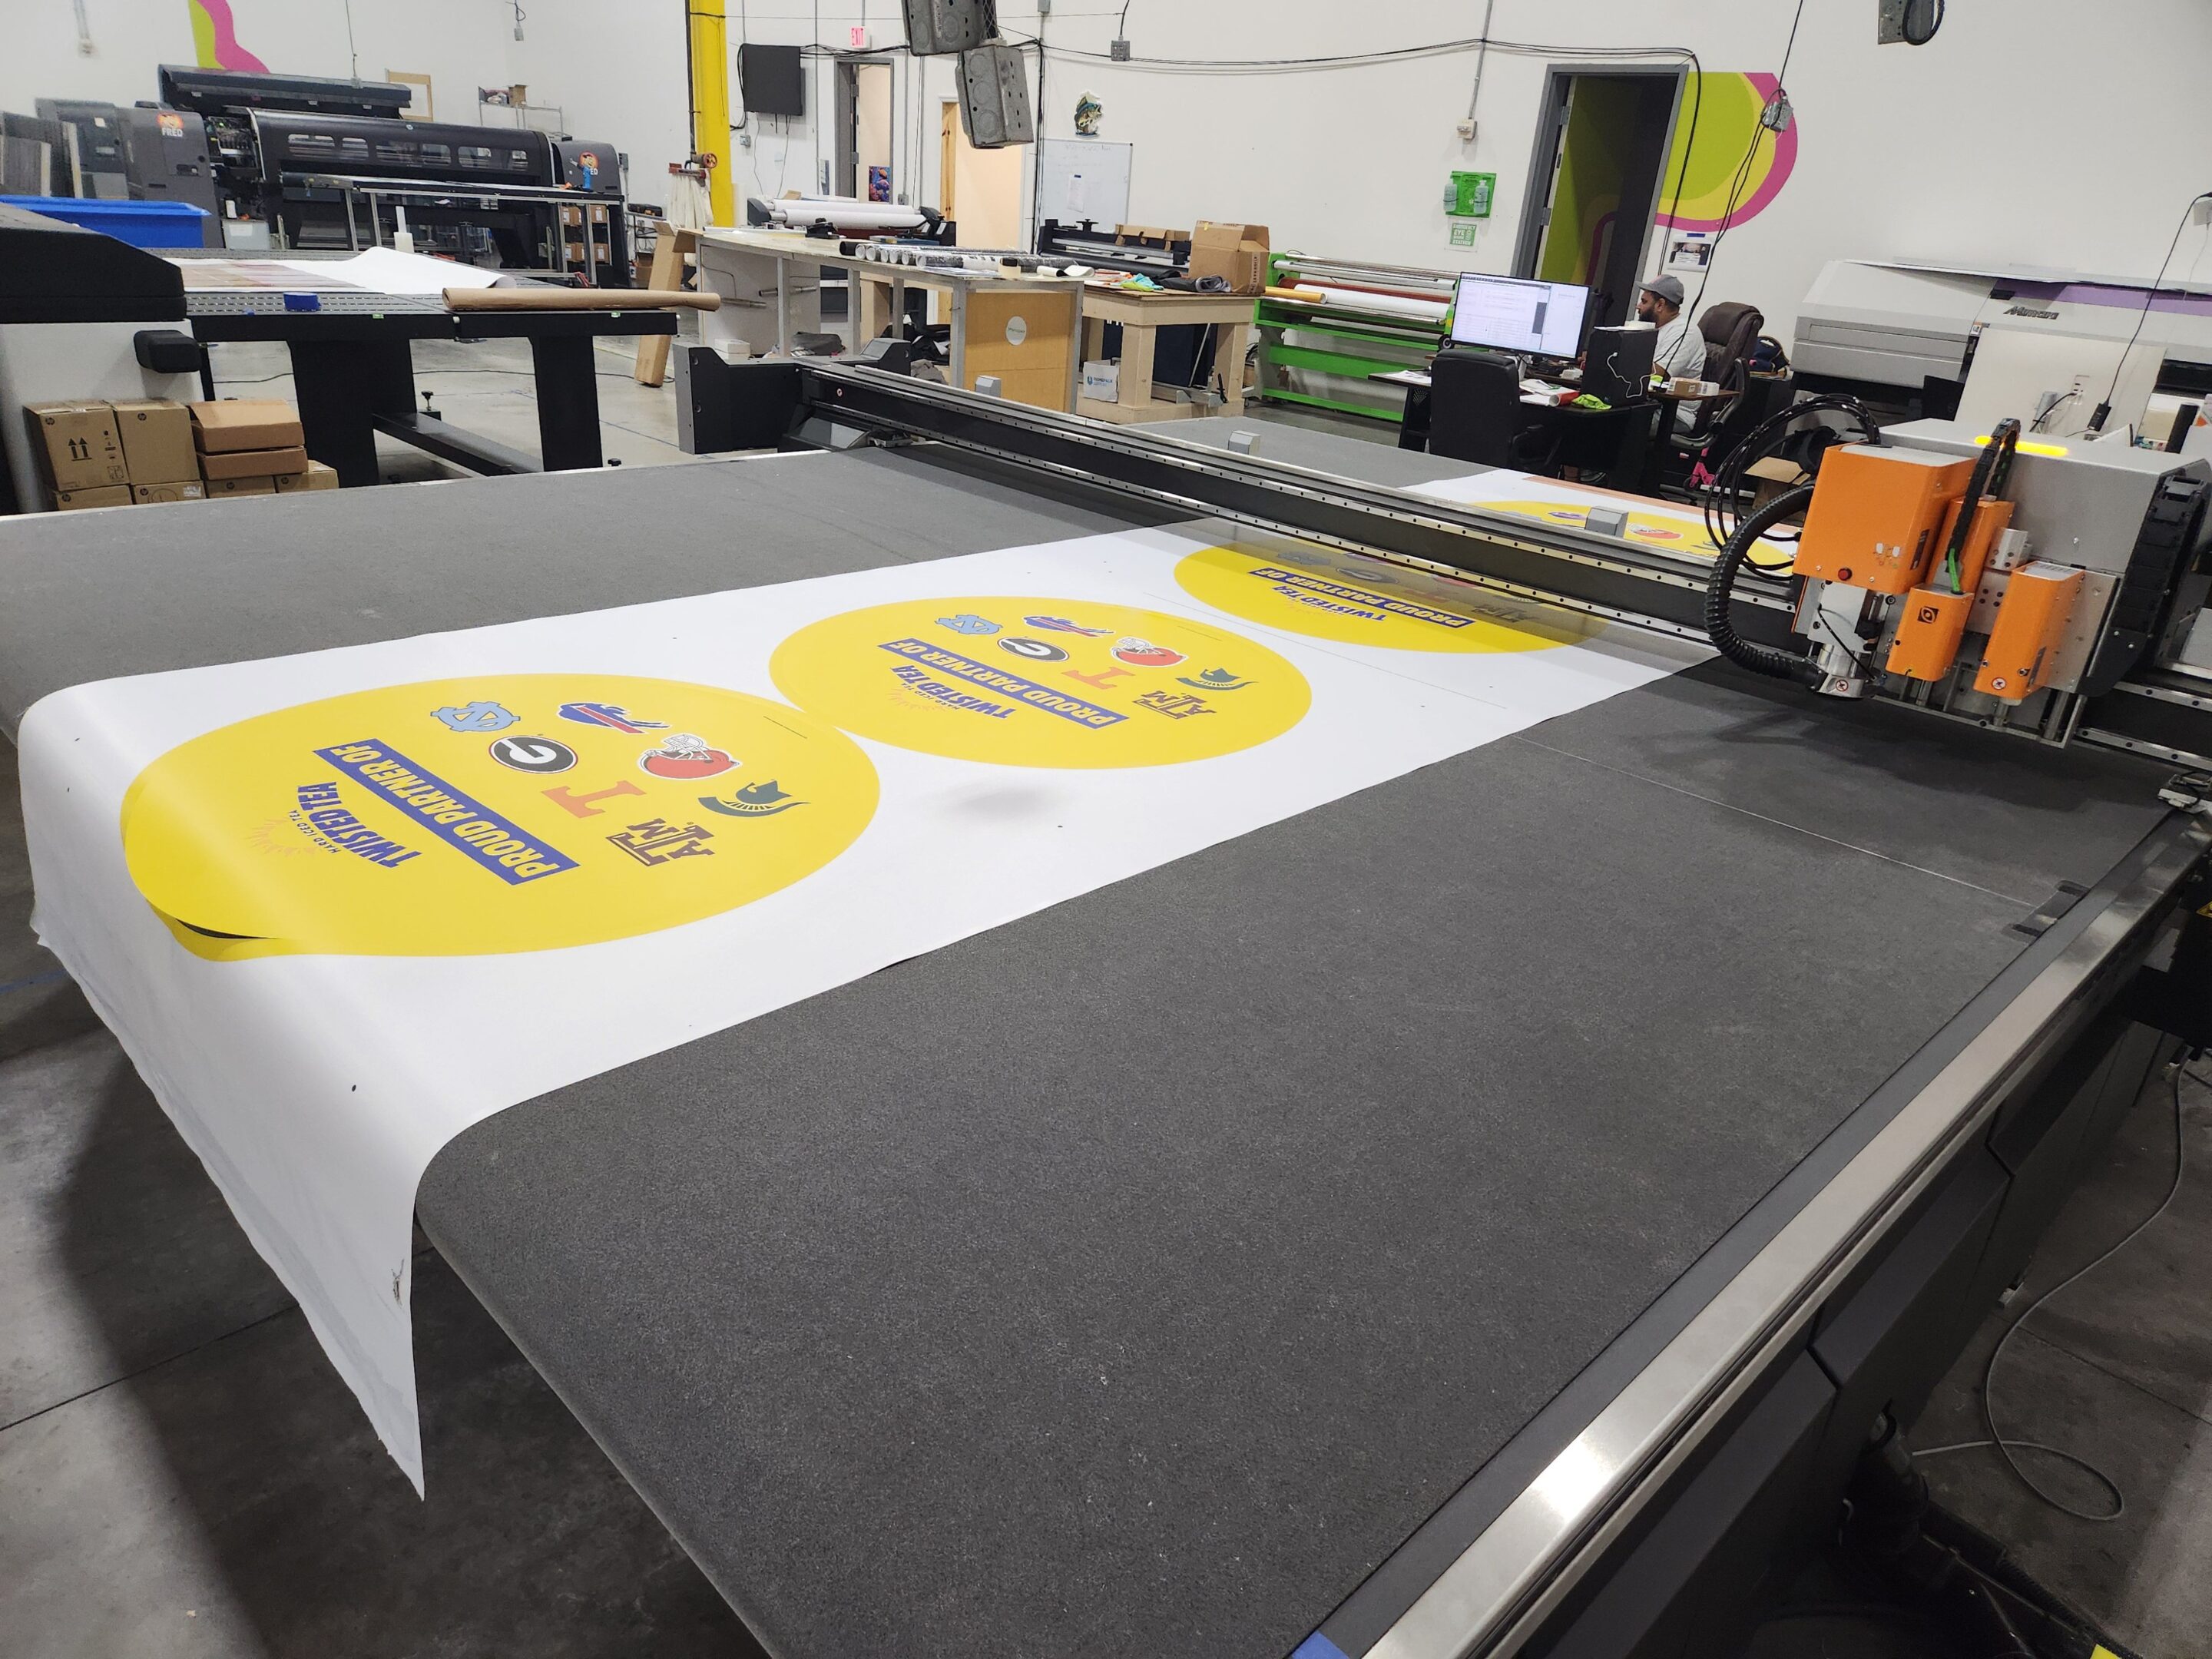
Example
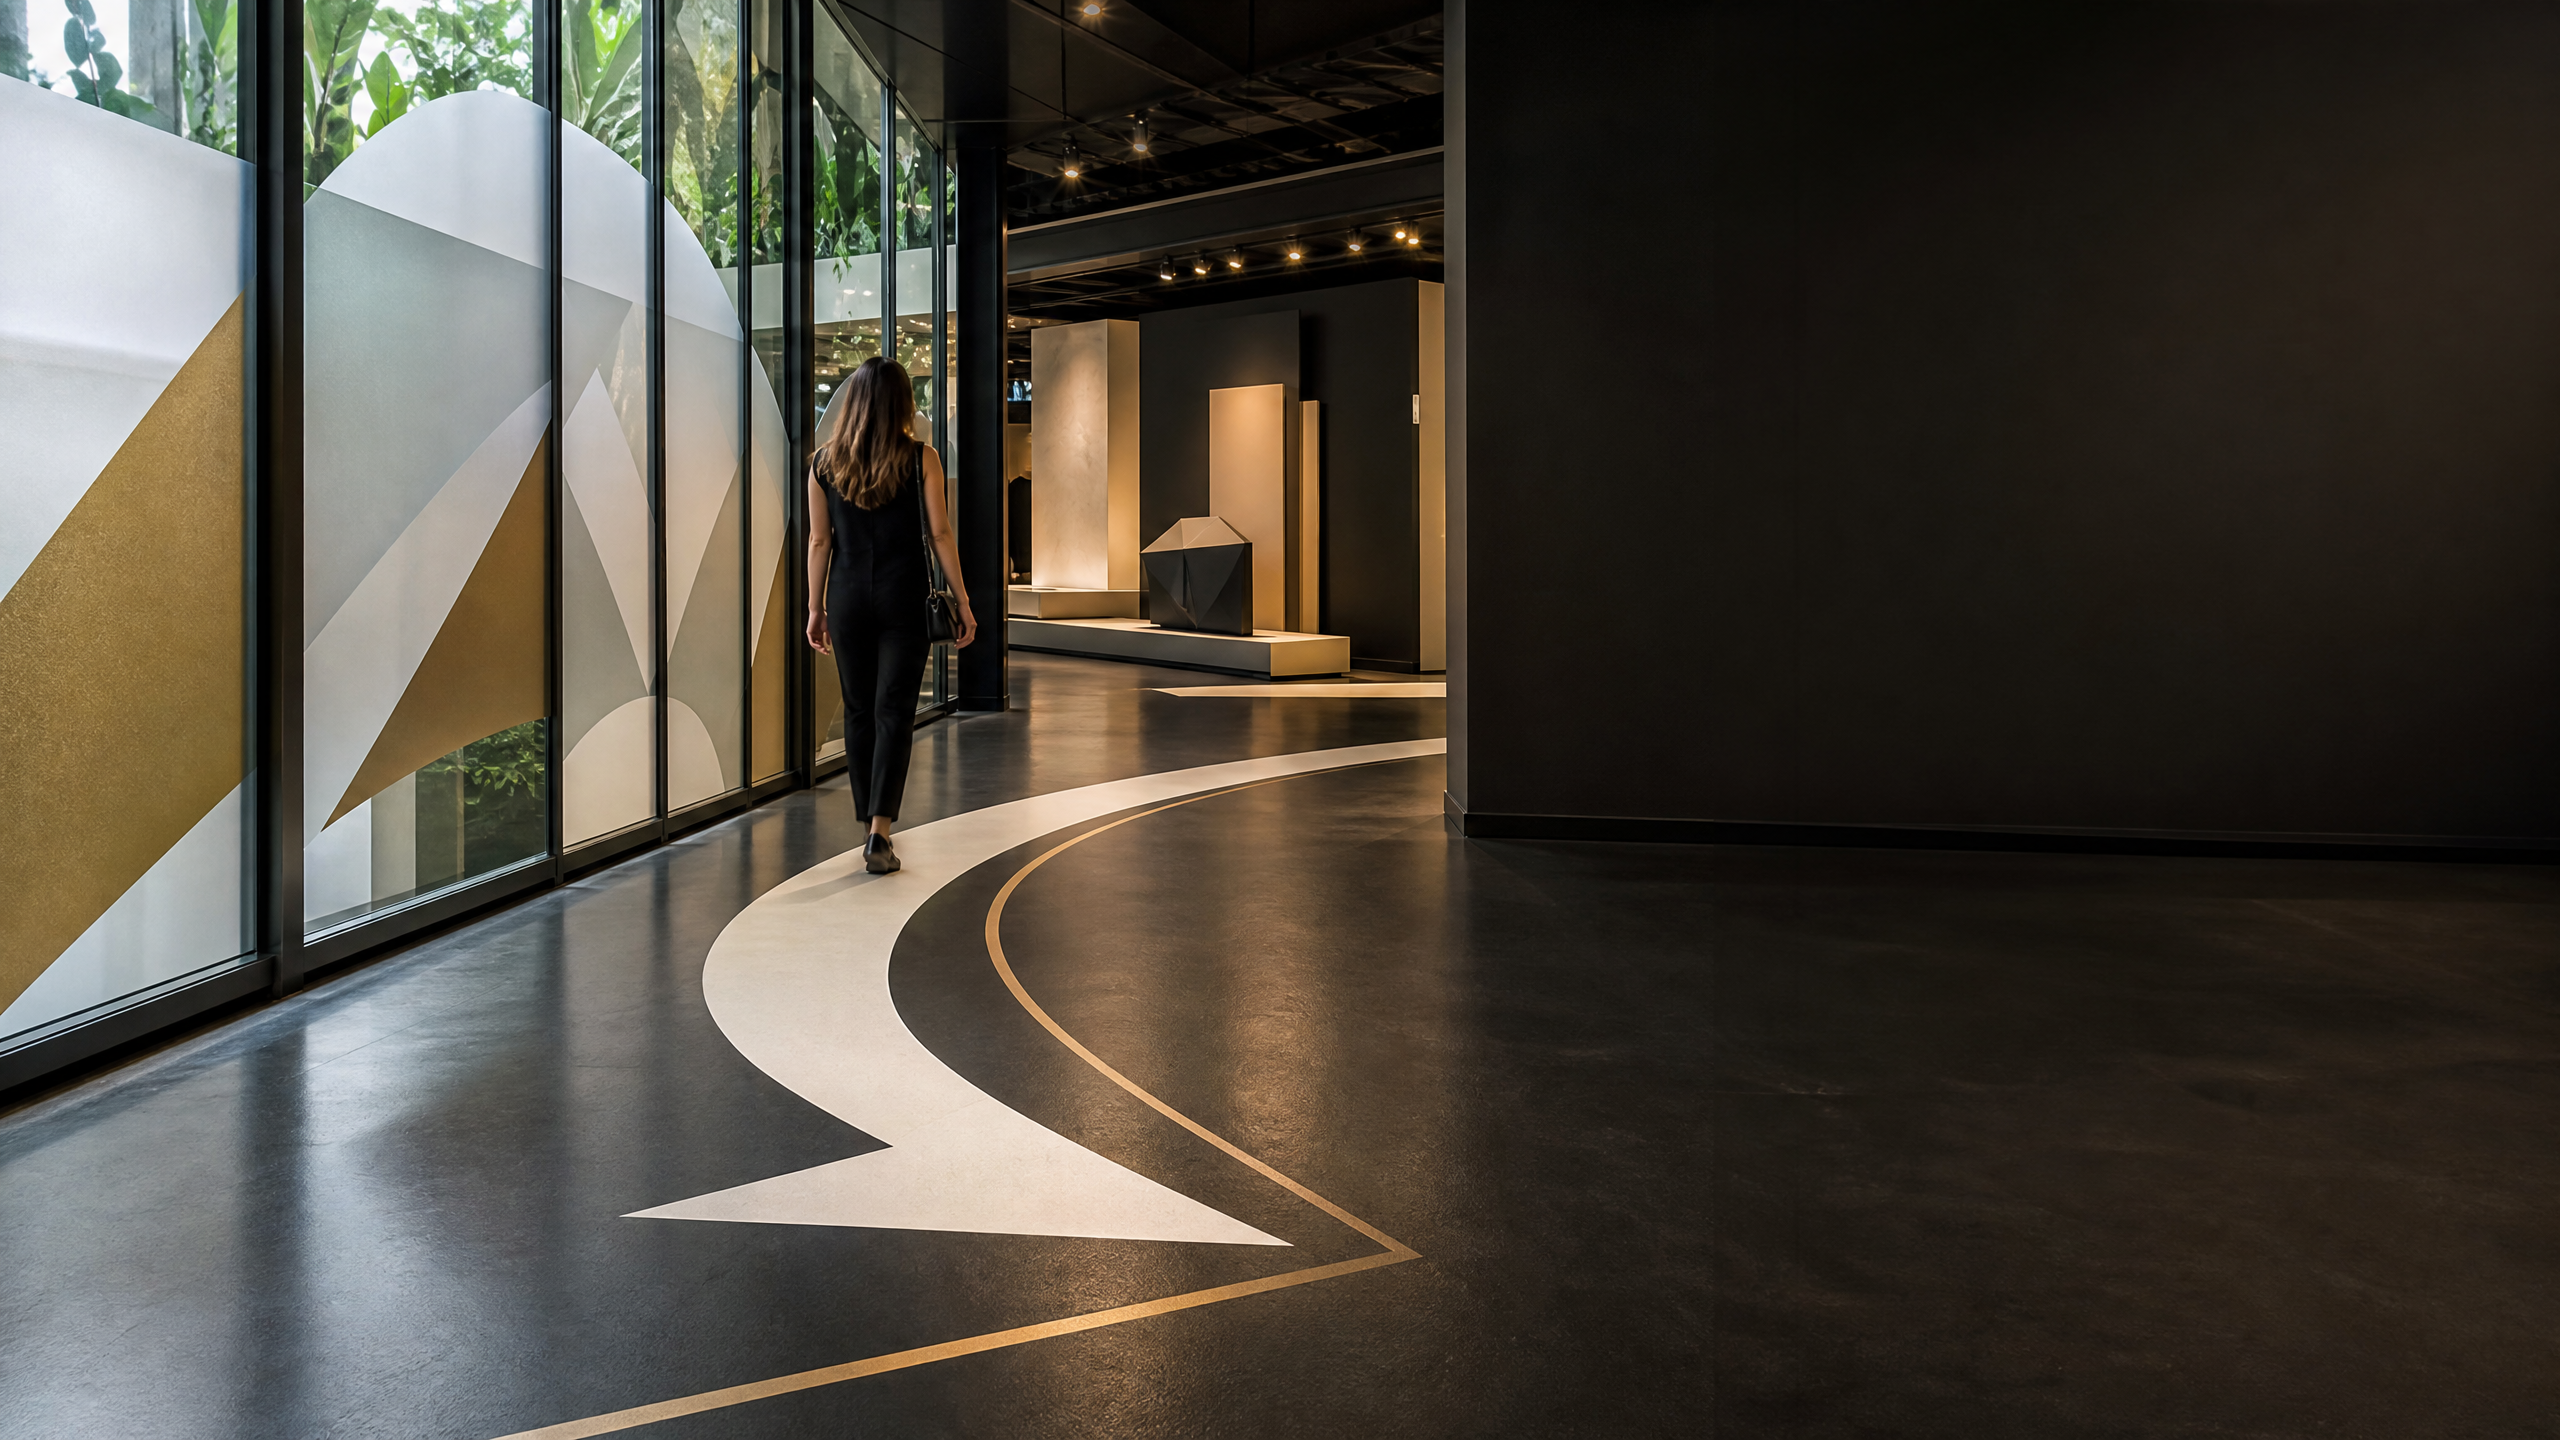
Retail or event-floor direction
Floor graphics can make a route or queue easier to understand when the message is concise, the path is intentional, and the material suits the real surface.
Graphics & Print
Floor and window graphics turn empty square footage into brand real estate. Factory of Graphics prints slip-rated floor decals, removable window clings, perforated window film, and directional event signage — all produced in Orlando and rated for the surfaces and traffic loads your venue requires.
Why this matters
Floor and window graphics can guide movement, add retail or event context, and make overlooked surfaces work harder. The material and installation approach must match the exact surface, expected traffic, cleaning conditions, and desired removal plan.
Project blueprint
The site condition is as important as the artwork. Use the location plan and these review points to make sure the proposed graphic fits the actual environment.
Identify the material, finish, condition, and accessibility constraints of each floor, window, wall, or temporary event surface.
Map the visitor path, entrance, decision point, queue, or destination the graphic is intended to support.
Record final visible dimensions, obstructions, door swings, seams, and the artwork zones that must stay clear or align precisely.
Confirm the access window, surface preparation, responsible contact, and desired removal timing before scheduling the final work.
Useful application examples
These are practical planning examples, not claims about a specific client or venue program. Final requirements are confirmed for the actual project.
Example
Floor graphics can make a route or queue easier to understand when the message is concise, the path is intentional, and the material suits the real surface.
Example
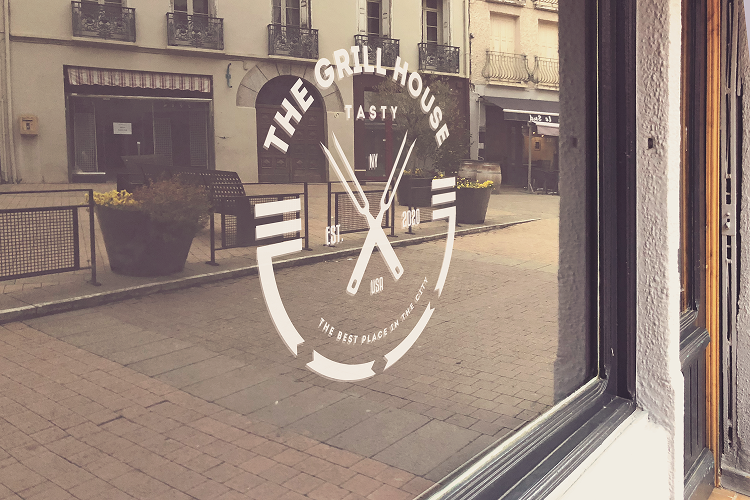
A window plan can introduce a promotion, campaign, or directional message while considering visibility from inside and outside the location.
Example
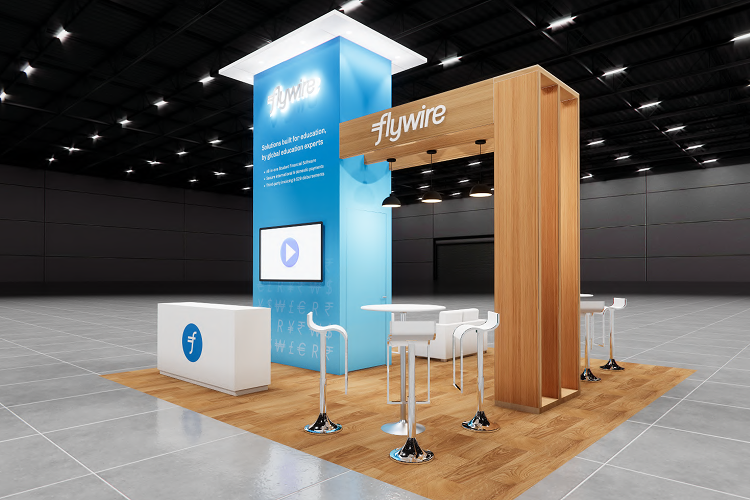
Directional surfaces work best when they share the same language as the backdrop, wall, or registration graphics around the experience.
The design-to-install path
Every project is scoped around its real materials, artwork, environment, timing, and delivery or installation context. Nothing here substitutes for the project-specific approval process.
Share the booth footprint, audience, desired action, timing, location, and any existing brand files. The goal is to make the next production decision clear before artwork moves forward.
OutputUsable project brief
We review the supplied dimensions, artwork status, installation surface or exhibit frame, and any venue or handling requirements that affect the output.
OutputVerified inputs and open questions
The project brief aligns the visual zones, finished size, material, finishing details, proof needs, packing, and delivery or installation path before production begins.
OutputConfirmed production blueprint
After the scope is confirmed, production and logistics are coordinated around the actual approved artwork, deadline, delivery address, and project requirements.
OutputCoordinated production handoff
From approved brief to coordinated handoff
The written project brief keeps confirmed dimensions, approved files, finishing details, timing, packing, delivery, and any installation coordination attached to the same decision path.
Frequently asked questions
Every project still needs a confirmed scope, but these questions can help your team arrive with the useful details.
The surface type, condition, placement, traffic expectations, desired life, installation timing, and removal expectation are the essential details.
A project brief can organize the attendee path, key destinations, placements, artwork needs, and delivery or installation details before a final scope is confirmed.
They can share a campaign system, but each surface needs its own final measurements, visual hierarchy, and production review.
Start with the real project details
Share the footprint, message, artwork status, deadline, and delivery or installation context. We will help identify the next practical step for the actual project.