Central Florida’s Fastest Source for Small Business Signage – Large Format Printing – Trade Show Graphics -Event Materials & More
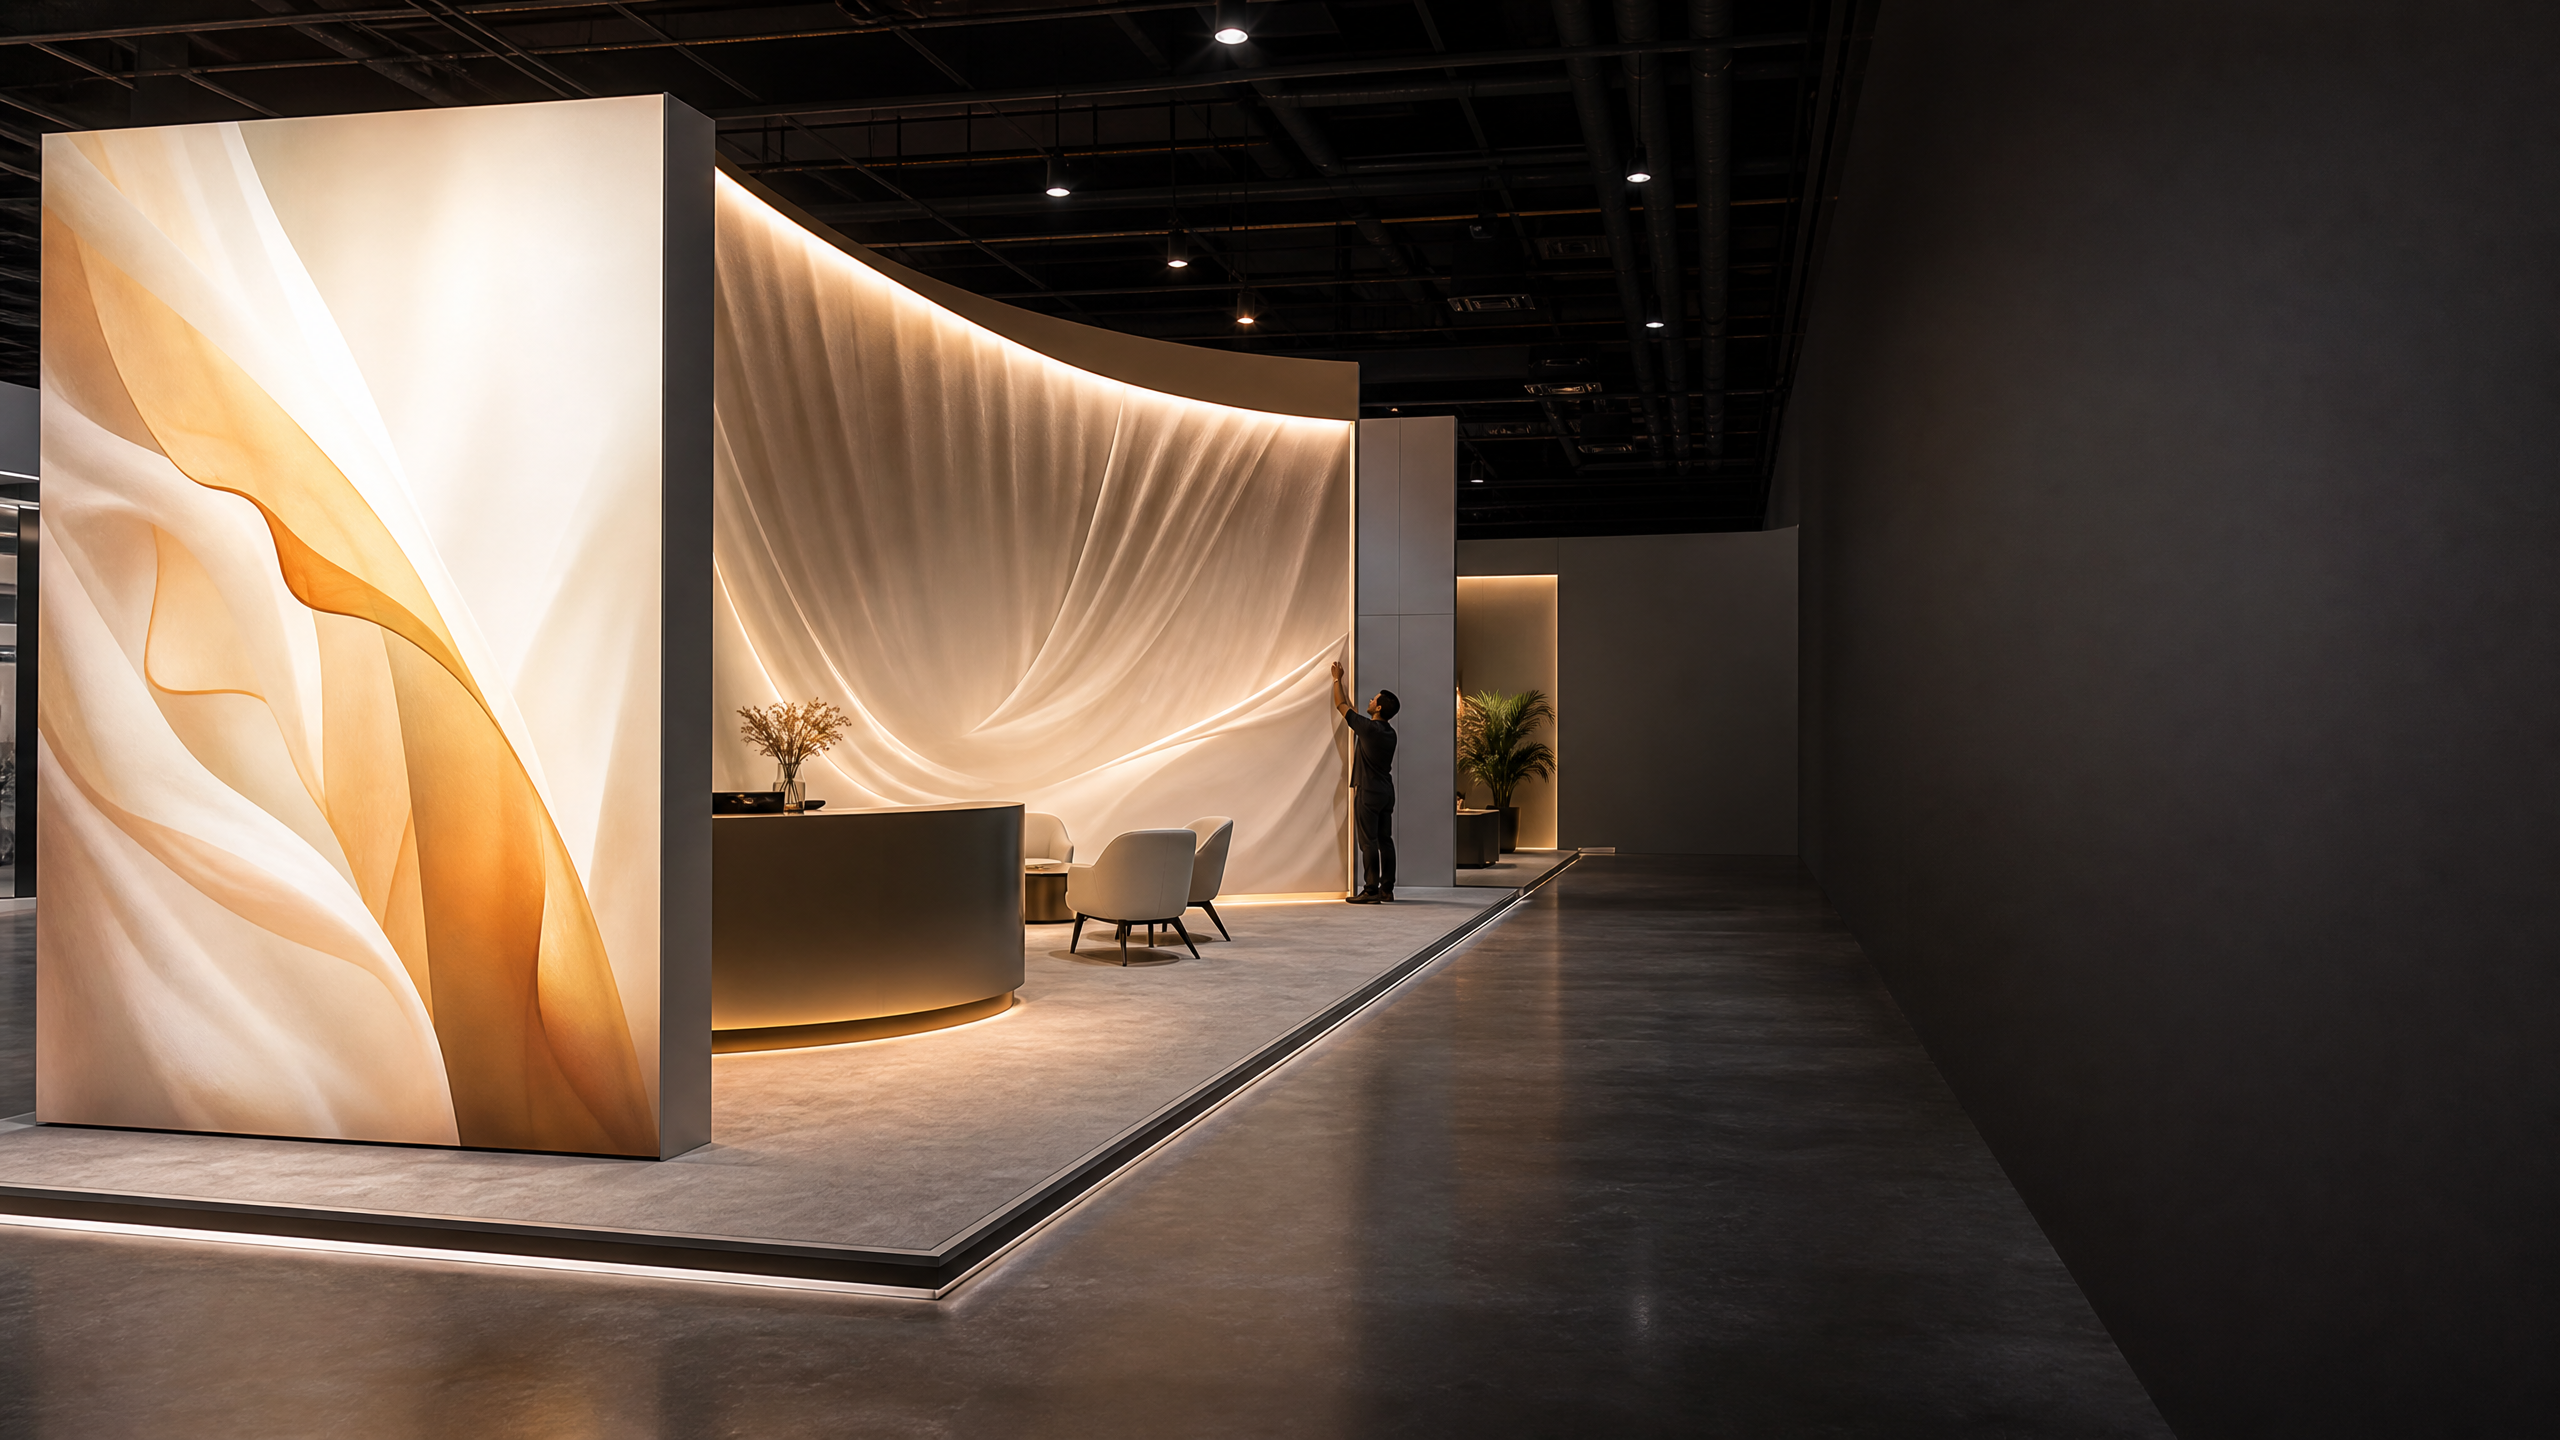
Open exhibit environment with a tension-fabric lightbox and curved fabric graphic wall
Illustrative project visualization. Open a larger view.

Graphics & Print

beMatrix and Aluvision Fabric Printing to Exact Frame Specs

Custom fabric printing for BeMatrix and Alluvision systems. Seamless SEG graphics for modular trade show booths and event displays.

Why this matters

Make the visual work harder for the actual environment.

We produce SEG for beMatrix, Aluvision, Orbus, Classic Exhibits and generic aluminium extrusion systems.

  • Clean silicone-edge fit for the confirmed frame profile
  • Fabric graphics planned around viewing distance and light conditions
  • A repeatable packing and replacement path for future programs

Why Frame Tolerance Decides Everything

An SEG panel is cut and sewn to a dimension derived from the frame — not the same as the frame. Too large and the fabric sags. Too small and it will not seat, or it tears the silicone out of the channel on installation.

The tolerance window is small, and it differs between systems. A beMatrix frame and an Aluvision frame of nominally the same size do not take the same panel.

We print to your frame's actual specification. Send us the system, the profile and the frame dimensions, and the panel arrives fitting. If you do not know what system you have, send photographs of a frame corner and the channel profile — we can identify most systems from that.
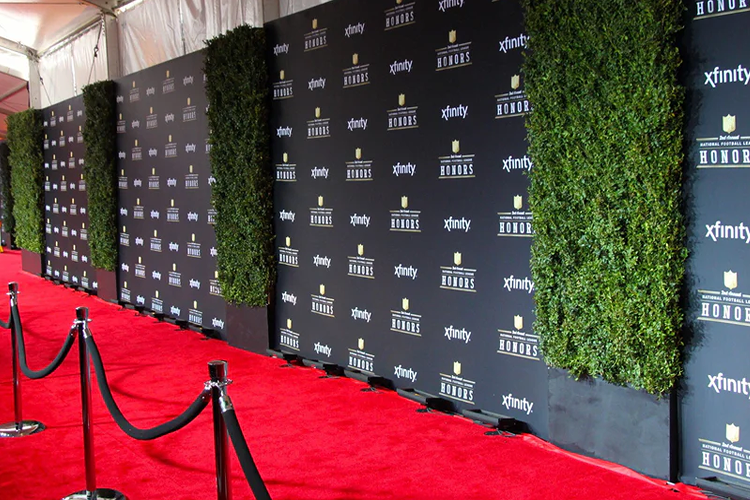
beMatrix, Aluvision and Other Frame Systems

We produce SEG for beMatrix, Aluvision, Orbus, Classic Exhibits and generic aluminium extrusion systems.

If you already own frames, reskinning is the cheapest upgrade available to you. A full set of new dye-sub fabric costs a fraction of a new exhibit, ships flat, and completely changes how the booth reads. Exhibitors who own a frame system and rebuild the whole thing to refresh their look are burning money.

Artwork Requirements

Vector where possible. Raster at 100 to 150 DPI at final output size — SEG is viewed from a distance and higher resolution buys nothing but file size.

Bleed requirements vary by frame system because the silicone seam consumes a defined amount of the panel edge. Send us the frame spec before you build the artwork and we will supply a template. Artwork built without a template is the single most common cause of a reprint.

We colour-manage against Pantone references or supplied proofs. If brand colour is critical, tell us at quote stage rather than after the first panel ships.

Project blueprint

Build the SEG graphic blueprint before production

Bring the frame model or opening dimensions, artwork status, lighting conditions, and show deadline. The following review points keep the graphic, frame, and handling plan connected.

This is a practical intake checklist—not a venue-approved engineering drawing, final production proof, or event-service submission.
  1. 01

    Frame opening

    Confirm the finished visible area and whether the graphic is for a wall, lightbox, counter, or custom shape.

  2. 02

    Graphic zones

    Place brand marks, messaging, product visuals, and essential copy away from seams, returns, and high-glare areas.

  3. 03

    Lighting plan

    Identify front-lit or backlit conditions so color, density, and image treatment are reviewed for the intended environment.

  4. 04

    Event handoff

    Document the install sequence, packing preference, delivery target, and project contact before final scheduling.

Useful application examples

See how bematrix and aluvision fabric printing to exact frame specs can support the room, not just fill space.

These are practical planning examples, not claims about a specific client or venue program. Final requirements are confirmed for the actual project.

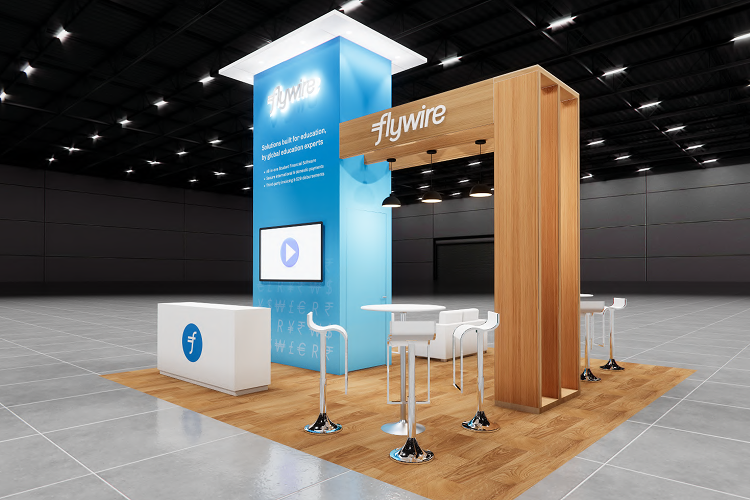
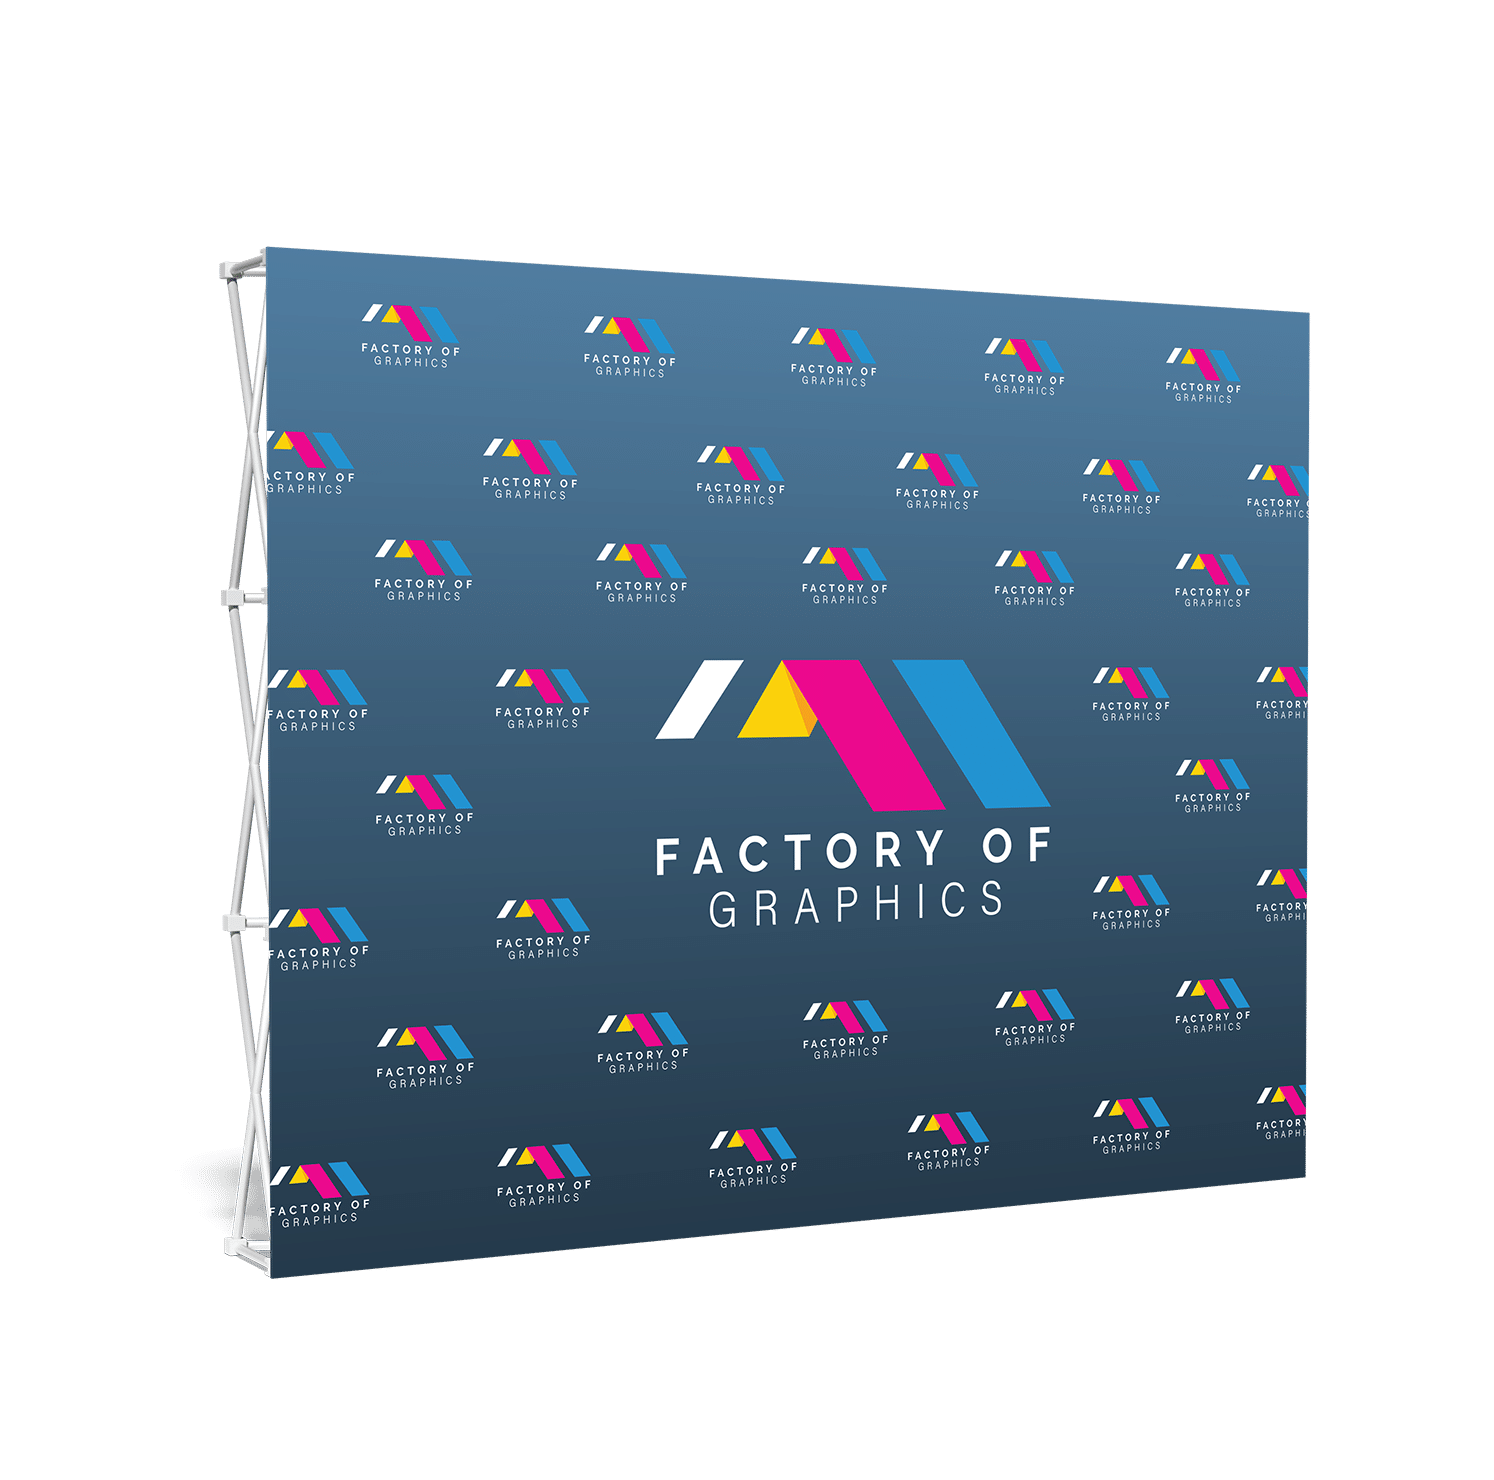
Printed event backdrop illustrating a clear large-scale message wall

Example

Inline message wall

For a 10 × 10 or 10 × 20 booth, use one clear promise, a recognizable visual anchor, and enough negative space for the attendee to read the message at aisle distance.

Backlit tension-fabric display and SEG graphic application

Example

Backlit product moment

When the display is backlit, design the composition around contrast, high-quality imagery, and a message hierarchy that stays clear under illumination.

Custom trade-show graphics and fabric display environment

Example

Modular exhibit refresh

A fabric graphic refresh can help update an existing frame system for a campaign, event, or product launch after its dimensions and attachment method are confirmed.

The design-to-install path

A transparent process makes the next decision easier.

Every project is scoped around its real materials, artwork, environment, timing, and delivery or installation context. Nothing here substitutes for the project-specific approval process.

Project-specific scopeWritten approvalsCoordinated handoff
  1. Stage 01

    Define the decision

    Share the booth footprint, audience, desired action, timing, location, and any existing brand files. The goal is to make the next production decision clear before artwork moves forward.

    OutputUsable project brief

  2. Stage 02

    Review files and site context

    We review the supplied dimensions, artwork status, installation surface or exhibit frame, and any venue or handling requirements that affect the output.

    OutputVerified inputs and open questions

  3. Stage 03

    Confirm the production blueprint

    The project brief aligns the visual zones, finished size, material, finishing details, proof needs, packing, and delivery or installation path before production begins.

    OutputConfirmed production blueprint

  4. Stage 04

    Produce and coordinate the handoff

    After the scope is confirmed, production and logistics are coordinated around the actual approved artwork, deadline, delivery address, and project requirements.

    OutputCoordinated production handoff

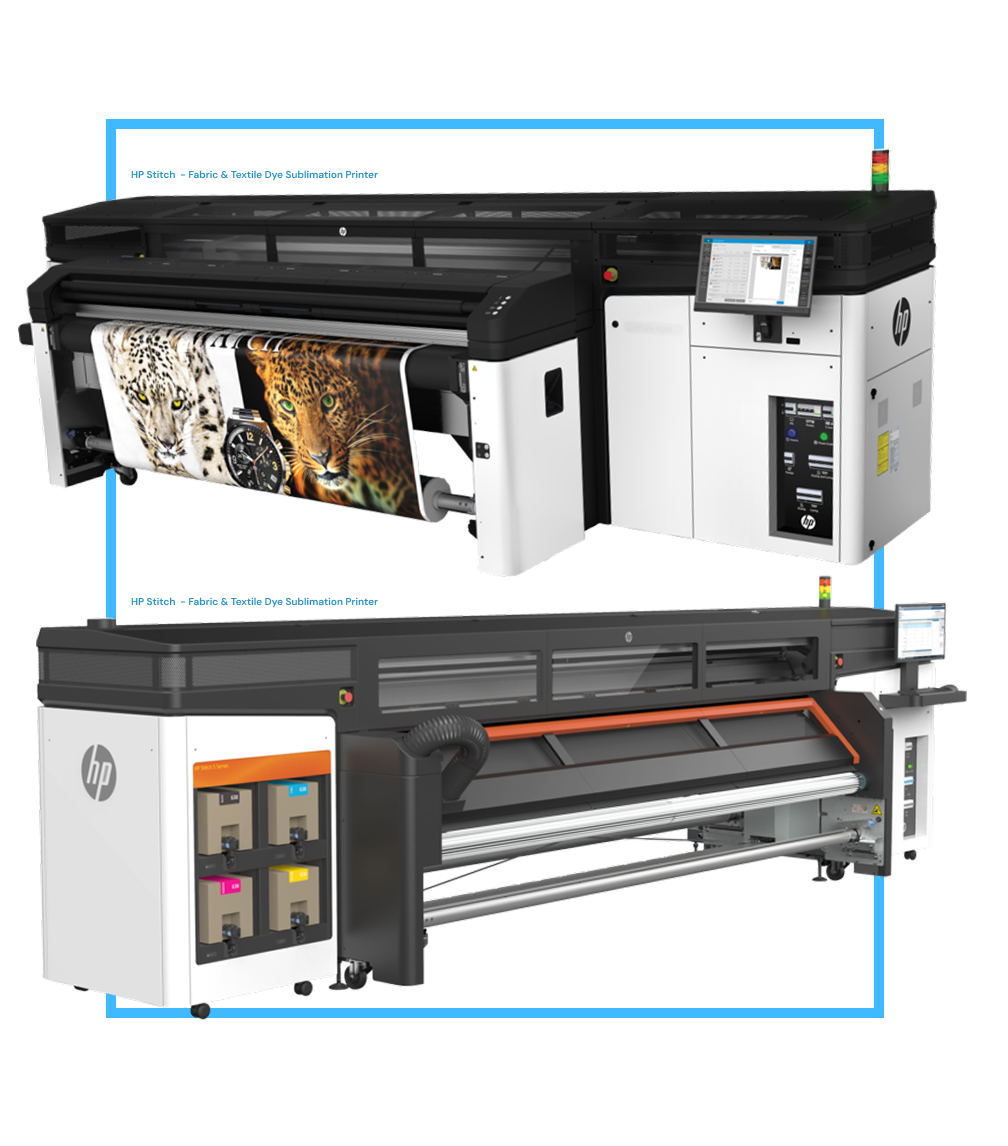
Large-format printing equipment supporting approved graphics production

From approved brief to coordinated handoff

One scope connects artwork, production, and logistics.

The written project brief keeps confirmed dimensions, approved files, finishing details, timing, packing, delivery, and any installation coordination attached to the same decision path.

  • Files and finished sizes documented
  • Proof and production requirements aligned
  • Delivery or installation context recorded

Frequently asked questions

Answers that help you prepare a stronger brief.

Every project still needs a confirmed scope, but these questions can help your team arrive with the useful details.

What do you need to quote an SEG fabric graphic?

A frame model or finished opening dimensions, the number of faces, whether lighting is involved, the delivery or event date, and the artwork status are the most useful starting points.

Can you work from an existing exhibit frame?

Yes, provided the frame profile, finished dimensions, and attachment method are confirmed. The project brief should identify what is existing and what needs to be produced.

Should the artwork change for a backlit SEG graphic?

Often, yes. Backlighting can change how density, contrast, and fine detail read. Share the intended lighting condition so the graphic can be reviewed for the actual application.

Start with the real project details

Ready to turn the idea into a production brief?

Share the footprint, message, artwork status, deadline, and delivery or installation context. We will help identify the next practical step for the actual project.